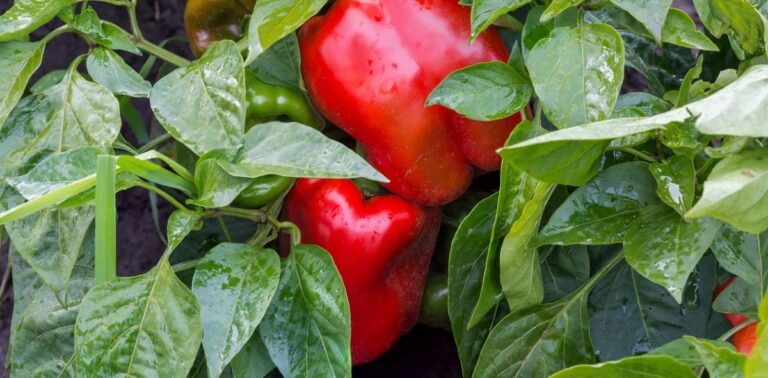
Have you ever imagined plucking fresh, flavorful bell peppers right from your garden? Whether you’re a culinary enthusiast or just starting your gardening journey, growing bell peppers can be a rewarding endeavor. Let me guide you through the essential steps to cultivating bell peppers, turning you into a bona fide pepper pro.
1. Choosing the Right Bell Pepper Varieties
The first step in your pepper-growing adventure is selecting the right varieties to meet your culinary and gardening needs. Bell peppers come in a dazzling array of sizes, shapes, colors, and flavors. From the sweet ones perfect for salads and Mediterranean dishes to the spicy varieties that zest up your meals, there’s a pepper for every palate.
For instance, the ‘California Wonder’ is renowned for its thick, juicy flesh—ideal for stuffing or grilling. If you’re into something a bit longer and perfect for grilling, the ‘Marconi’ might be your pick. Or, if it’s a kick of heat you’re after, the ‘Espelette’ pepper is a popular choice for adding spice to any dish.
2. Starting Seeds Indoors
Bell peppers love warmth, which is why starting them indoors is crucial. This usually happens between February and April, depending on your climate. To start, fill small pots or trays with a seed-starting mix, plant the seeds about an inch apart, and lightly cover them with soil. Keep them in a warm spot—like near a radiator or in a heated propagator—and make sure they get plenty of light.
Keep the soil consistently moist and within a few weeks, you should see the first sprouts. These baby plants are delicate, so when they get a bit crowded, gently transplant them into bigger pots, taking care not to disturb their roots.
3. Transplanting Outdoors
Once the threat of frost has passed, usually by mid-May, it’s time to move your peppers outside. Choose a sunny, sheltered spot because peppers thrive in warmth and light. Enrich the soil with compost or well-rotted manure, and space the plants about 18 inches apart to give them plenty of room to flourish.
Water them well after planting to help them settle and reduce transplant shock. If you’re planting in pots, make sure they are at least 12 inches in diameter and filled with a mix of potting soil and compost.
4. Caring for Your Bell Pepper Plants
Proper care through the season is essential for a bountiful harvest. Here are some tips to keep your peppers happy:
- Watering: Peppers need a consistently moist (but not soggy) soil. Water regularly, especially during hot spells, and mulch around the plants to help retain moisture.
- Support: As the plants grow and produce fruit, they might need some support to keep from bending or breaking. Use stakes or cages to keep them upright.
- Pruning: Removing ‘suckers’—the small shoots that form in the joints of branches—can help enhance fruit production. Simply pinch them off with your fingers.
- Pest control: Keep an eye out for pests and diseases. Encourage beneficial insects by planting flowers nearby, and keep the area around your peppers clean and free of debris.
5. Harvesting and Preserving Your Bell Peppers
Peppers are typically ready to harvest from July to October, when they’ve reached their full size and color. Use a sharp pair of scissors or secateurs to cut the peppers, leaving a short stub of stem attached.
Fresh peppers will keep for several days at room temperature, or longer in the fridge. For longer storage, consider freezing, drying, or canning them. Freezing is simple—just slice the peppers, remove the seeds, and pop them in freezer bags. For drying, slice them thin and use a dehydrator or a low oven.
Growing bell peppers isn’t just about adding vibrancy and flavor to your dishes—it’s about the satisfaction of eating something you’ve grown yourself. With these steps, you’re well on your way to a successful pepper harvest that will add a burst of color and taste to your culinary creations.


