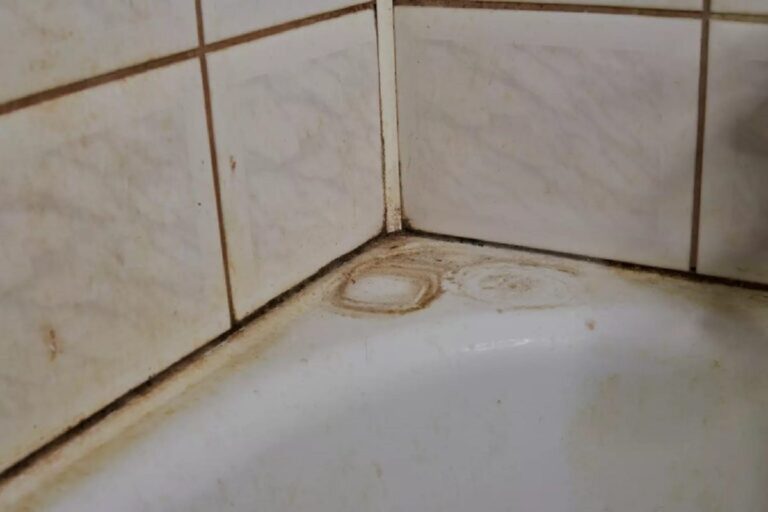
Bathroom tile joints, over time, can become an unsightly mess. Constant exposure to moisture, soap, and shampoo can lead to grime build-up, turning the once-pristine grout a dull, blackened shade. There’s nothing worse than stepping into a bathroom that looks neglected, with every darkened grout line and speck of mold greeting you. If left untreated, these cracks not only trap moisture but also create an ideal environment for mold growth, potentially leading to an unhealthy bathroom.
While most of us have reached for bleach or vinegar in an attempt to restore cleanliness, these harsh chemicals can sometimes do more harm than good. They’re effective but can weaken grout over time and leave behind unpleasant fumes. Thankfully, there’s a gentler, more sustainable solution that gets the job done without the risk of damage or harsh chemicals.
The Magic Trio: Hydrogen Peroxide, Baking Soda, and Dish Soap
What if I told you that you only need three simple household ingredients to tackle the grimy tile joints in your bathroom? Hydrogen peroxide, baking soda, and a little dish soap are all it takes to make your grout look brand new again.
Hydrogen peroxide is an unsung hero in cleaning. It’s colorless, non-toxic, and an effective disinfectant that doesn’t leave behind harmful residues like bleach. It’s a safe, reliable option for not only cleaning but also brightening your surfaces. When combined with the abrasiveness of baking soda, you get a powerful cleaning solution that will help lift away grime and mold. Add a touch of dish soap, and you’ve got a potent trio that can tackle even the toughest grout stains.
Step-by-Step Tile Joint Cleaning
Using this simple method is quick and easy. First, avoid mixing the ingredients ahead of time. Instead, apply a generous amount of each directly onto the affected grout lines. Using an old toothbrush or a specialized grout brush, scrub the mixture into the grout, ensuring it’s evenly distributed.
Let the ingredients sit and foam for about 10 to 15 minutes. This allows the solution to break down the grime and penetrate deep into the grout. After the wait, give it another good scrub, focusing on stubborn spots, and rinse thoroughly with your shower head. Voilà! Your grout will look refreshed, with no harsh chemicals or damage to your tiles.
Beyond the Bathroom: Hydrogen Peroxide’s Versatility
Hydrogen peroxide isn’t just for bathroom cleaning—it’s a true multi-purpose household tool. You can use it to clean mirrors and windows, making them streak-free and shiny. It also works wonders on stains like blood or sweat and can freshen up your refrigerator or disinfect your toothbrushes. Don’t forget to toss a little in your laundry to remove stubborn odors or use it to revive smelly sponges. It even eliminates dust mites from your mattress, making it a versatile and invaluable cleaning ally.
Incorporating hydrogen peroxide into your routine means adding an easy-to-use, effective cleaner to your home that’s safer and better for your overall health.
By using this simple, natural method, you can keep your bathroom sparkling clean without resorting to harsh chemicals. It’s an easy, safe, and effective way to ensure your bathroom remains fresh, with tile joints that shine without the need for bleach or vinegar. Happy cleaning!


